Installations & Specifications

How To Install Turada® Hardwood Shingles
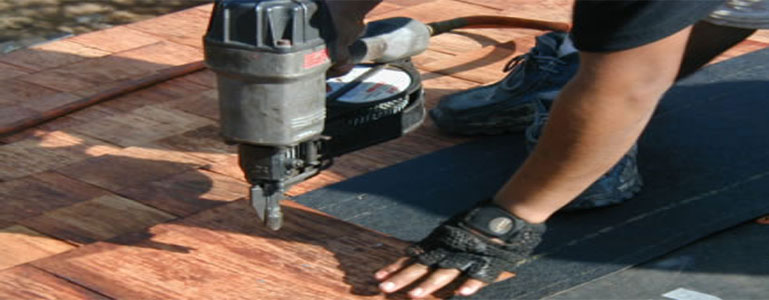
Installation of the Turada® Hardwood Shingles is no different than traditional wood shingles. They are installed with the same tools and methods as a cedar roof. Contractors who regularly install cedar shingles will find that there is very little difference to the installation of Turada® Hardwood Shingles.
The following basic installation details must be observed:
- Shingles should be doubled or tripled at all eaves.
- Butts of first course should project 1½” beyond the fascia.
- Spacing between shingles should be 1/4” and a maximum of 3/8”.
- Joints in any one course should be not less than 1-1/2” from joints in adjacent courses and in any three courses, no two joints should be in direct alignment.
- Minimum length 1-3/4” Stainless Steel 5d Ring Shank Nails recommended.
For more detailed information see our Turada® Installation Instructions.
Wallaba Fact Sheet
When specifying lumber products for residential and commercial projects it is important to pick the best product for the project. Just as products like Ipe and Greenheart have made names for themselves in exterior construction, Turada® Hardwood Shingles is separating itself from domestic alternatives by providing a superior roofing alternative to cedar shingles.
Not only are Turada® Hardwood Shingles more environmentally sustainable, but they last for over 50 years, making the higher upfront cost worth the long term investment. Take a look at our Comparison Table to see how Wallaba Hardwood stands up against Western Red Cedar.
New Warranty Registration
Click Below for Our Turada Hardwood Singles Warranty Information
